Key Takeaways
• Sizing is crucial on social media ||| • Platform-specific tips for mockups ||| • Strategic placement enhances mockup impact
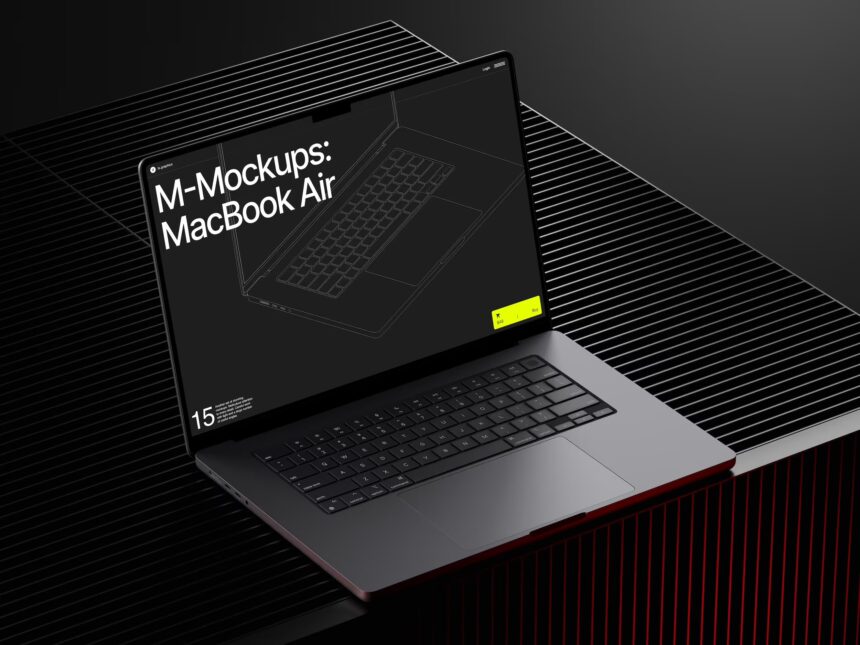
Here’s a confession: most people scroll past generic tech photos without a second glance. But show them a clean, well-placed MacBook mockup with your app, website, or design glowing on screen — and suddenly they stop. That’s the quiet power of a great mockup. It transforms abstract work into something you can almost reach out and touch.
- Why Sizing Is Everything (And Most People Get It Wrong)
- Platform-Specific Tips: Tailor Your Mockup to the Stage
- The Art of Placement: Where Your MacBook Lives in the Frame
- Real-World Examples: How Brands Use MacBook Mockups
- Where to Find Mockups Worth Using: ls.graphics
- Conclusion: Small Details, Big Results
But not all mockups are created equal, and slapping your design onto any laptop image and calling it done is a shortcut that shows. This article is about doing it right — understanding the sizing rules, nailing platform-specific placement, and making your MacBook mockup feel like it belongs in the feed, not like it crashed into it.
Why Sizing Is Everything (And Most People Get It Wrong)
Sizing mistakes are brutal on social media. They don’t just look sloppy — they signal to viewers that you didn’t care enough to get it right. The good news? Once you understand the logic, it becomes second nature.
The core rule is this: your mockup image should never be smaller than the platform’s recommended resolution, but it also shouldn’t be so large that it’s compressed into visual mush on upload. Compression is the silent killer of mockup quality. That gorgeous silver MacBook edge? It’ll blur into a muddy smudge if your file is too heavy and the platform’s algorithm decides to aggressively compress it.
A general best practice is to export your final image at 2x the display resolution (so a 1080px Instagram post should be built at 2160px), then scale down before uploading. This preserves sharpness while keeping file size manageable.
Platform-Specific Tips: Tailor Your Mockup to the Stage
Each platform has its own unwritten aesthetic rules, and your mockup should follow them without being asked.
Instagram — For feed posts, 1080 x 1080px (square) or 1080 x 1350px (portrait) are your best friends. Landscape works but gets cropped in the grid, so if you want your full MacBook composition visible at a glance, go square or portrait. Stories and Reels demand 1080 x 1920px — place your laptop in the center third of the frame so it doesn’t get clipped by the UI overlay at the top and bottom.
LinkedIn — LinkedIn audiences respond to polish and professionalism, so clean backgrounds — muted, neutral, or gradient — work well here. Aim for 1200 x 628px for shared posts. The mockup should feel boardroom-ready: straight-on angles, minimal clutter, and a screen that actually shows something relevant to your industry.
Twitter / X — Speed is the currency of this platform. Use 1200 x 675px for landscape images that display inline without a click. Keep compositions bold and simple — a centered MacBook on a solid color background communicates faster than any complex scene.
Pinterest — Tall images dominate here. Aim for 1000 x 1500px or a 2:3 ratio. Place the MacBook in a lifestyle-style composition — a desk setup, coffee nearby, warm light — because Pinterest users are there to be inspired, not just informed.
The Art of Placement: Where Your MacBook Lives in the Frame
Placement isn’t just about centering the laptop and calling it done. It’s about visual storytelling. There are a few compositional approaches that consistently perform well:
- Rule of Thirds Placement: Position the MacBook along one of the vertical thirds of the frame. Leave intentional negative space on the opposite side for text overlays or breathing room. This feels dynamic without being chaotic.
- Slight Angle, Massive Impact: A 3/4 perspective view adds dimension and realism. It mimics how you’d naturally see a laptop on a desk, which triggers a sense of familiarity in the viewer.
- Top-Down Flat Lay: Popular for editorial and lifestyle content. Works brilliantly for Pinterest and Instagram when combined with complementary props.
- Front-Facing Hero Shot: Nothing says “look at this product” like a straight-on, centered MacBook mockup with a clean background. Use it for product launches and app reveals.
Real-World Examples: How Brands Use MacBook Mockups
SaaS Product Launch on LinkedIn: A software company reveals a new dashboard feature by placing a clean MacBook mockup front-and-center on a dark gradient background. The screen shows the actual UI in context. The result feels polished and trustworthy — exactly what enterprise buyers respond to. No stock photography, no actor hands, just the product presented with confidence.
Freelance Portfolio on Instagram: A web designer posts a carousel where each slide shows a different client project on a MacBook screen, shot at a slight 3/4 angle against a soft white background. The consistent mockup style makes the portfolio feel cohesive and professional, even though each project looks completely different.
Course Creator on Pinterest: An online educator promotes a new digital course using a tall 2:3 mockup image. The MacBook sits on a styled desk with a notebook and coffee, showing the course landing page on screen. The lifestyle context makes it aspirational — viewers see themselves in that workspace, taking that course.
App Developer on Twitter/X: A developer announces a side project using a single, punchy image: MacBook on a black background, screen glowing with the app interface. No text, no props, no distractions. It gets retweeted because it’s instantly readable even at thumbnail size.
Where to Find Mockups Worth Using: ls.graphics
Their MacBook mockup collections are built to a genuinely different standard. The rendering is ultra-realistic — light behaves the way it actually should, reflections fall naturally, and the chassis texture feels almost tangible. These aren’t flat composites. They’re crafted scenes.
Files arrive with clearly named, logically grouped layers — dropping in your screen content takes seconds, not a Photoshop archaeology expedition. Angle variety covers front-facing, 3/4, and flat lay, with color styles from classic silver to moody dark palettes. Compositions are minimalist and intentional, so the mockup never fights your design for attention.
Smart object replacement and a thoughtful file structure mean you can go from blank file to finished image in under five minutes — even if you’re not a designer.
Conclusion: Small Details, Big Results
Getting your MacBook mockup right isn’t about obsessing over pixels for its own sake. It’s about respect — for your work, your audience, and the platform where you’re showing up. When sizing, placement, and composition all line up, the mockup disappears and the design takes center stage. That’s when the magic happens.
Start with the platform requirements, build your composition with intention, and choose source assets that can actually hold up at high resolution. ls.graphics is a smart place to start that search — the quality floor is high, the variety is genuine, and the files are built for people who have real work to get done.
Now go make something worth stopping for.